一、服务器快速搭建gitlab方法
参考GitLab快速搭建,如下方法按照官网操作,手动过程过于麻烦。
CentOS 6
1.安装配置依赖项
如想使用Postfix来发送邮件,在安装期间请选择'Internet Site',也可以用sendmail或者配置SMTP服务并使用SMTP发送邮件。
在centos 6系统上,将在系统防火墙里面开放HTTP和SSH端口。
1 2 3 4
| [root@localhost ~] [root@localhost ~] [root@localhost ~] [root@localhost ~]
|
2.添加GitLab仓库,并安装到服务器上
配置yum源
复制内容
1 2 3 4 5 6
| [gitlab-ce] name=gitlab-ce baseurl=http://mirrors.tuna.tsinghua.edu.cn/gitlab-ce/yum/el6 Repo_gpgcheck=0 Enabled=1 Gpgkey=https://packages.gitlab.com/gpg.key
|
更新本地yum缓存
安装GitLab社区版
也可以手动下载使用的系统相应的rpm安装包
1 2
| [root@localhost ~] [root@localhost ~]
|
安装报错
1 2 3
| warning: gitlab-ce-8.8.5-ce.0.el6.x86_64.rpm: Header V4 RSA/SHA1 Signature, key ID f27eab47: NOKEY error: Failed dependencies: policycoreutils-python is needed by gitlab-ce-10.1.1-ce.0.el6.x86_64
|
解决办法
再次安装成功
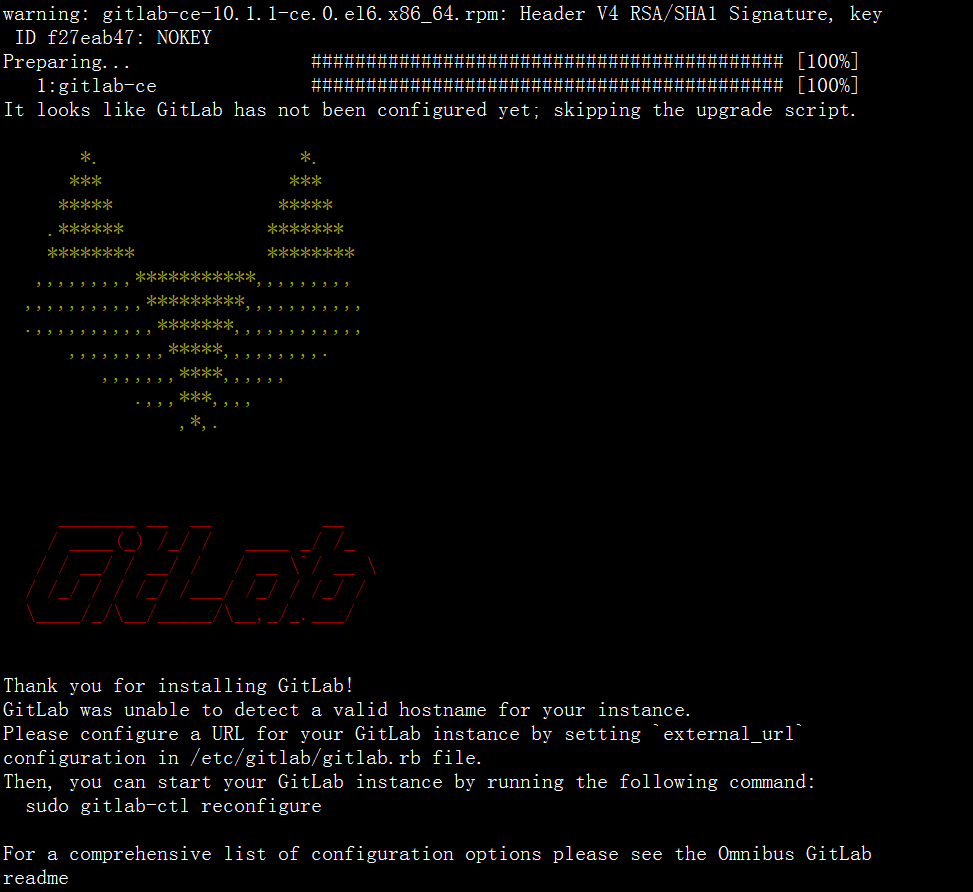
3.启动GitLab
在浏览器的地址栏输入服务器的IP地址即可登录gitlab的界面,第一次登录使用的用户名和密码为root和5iveL!fe
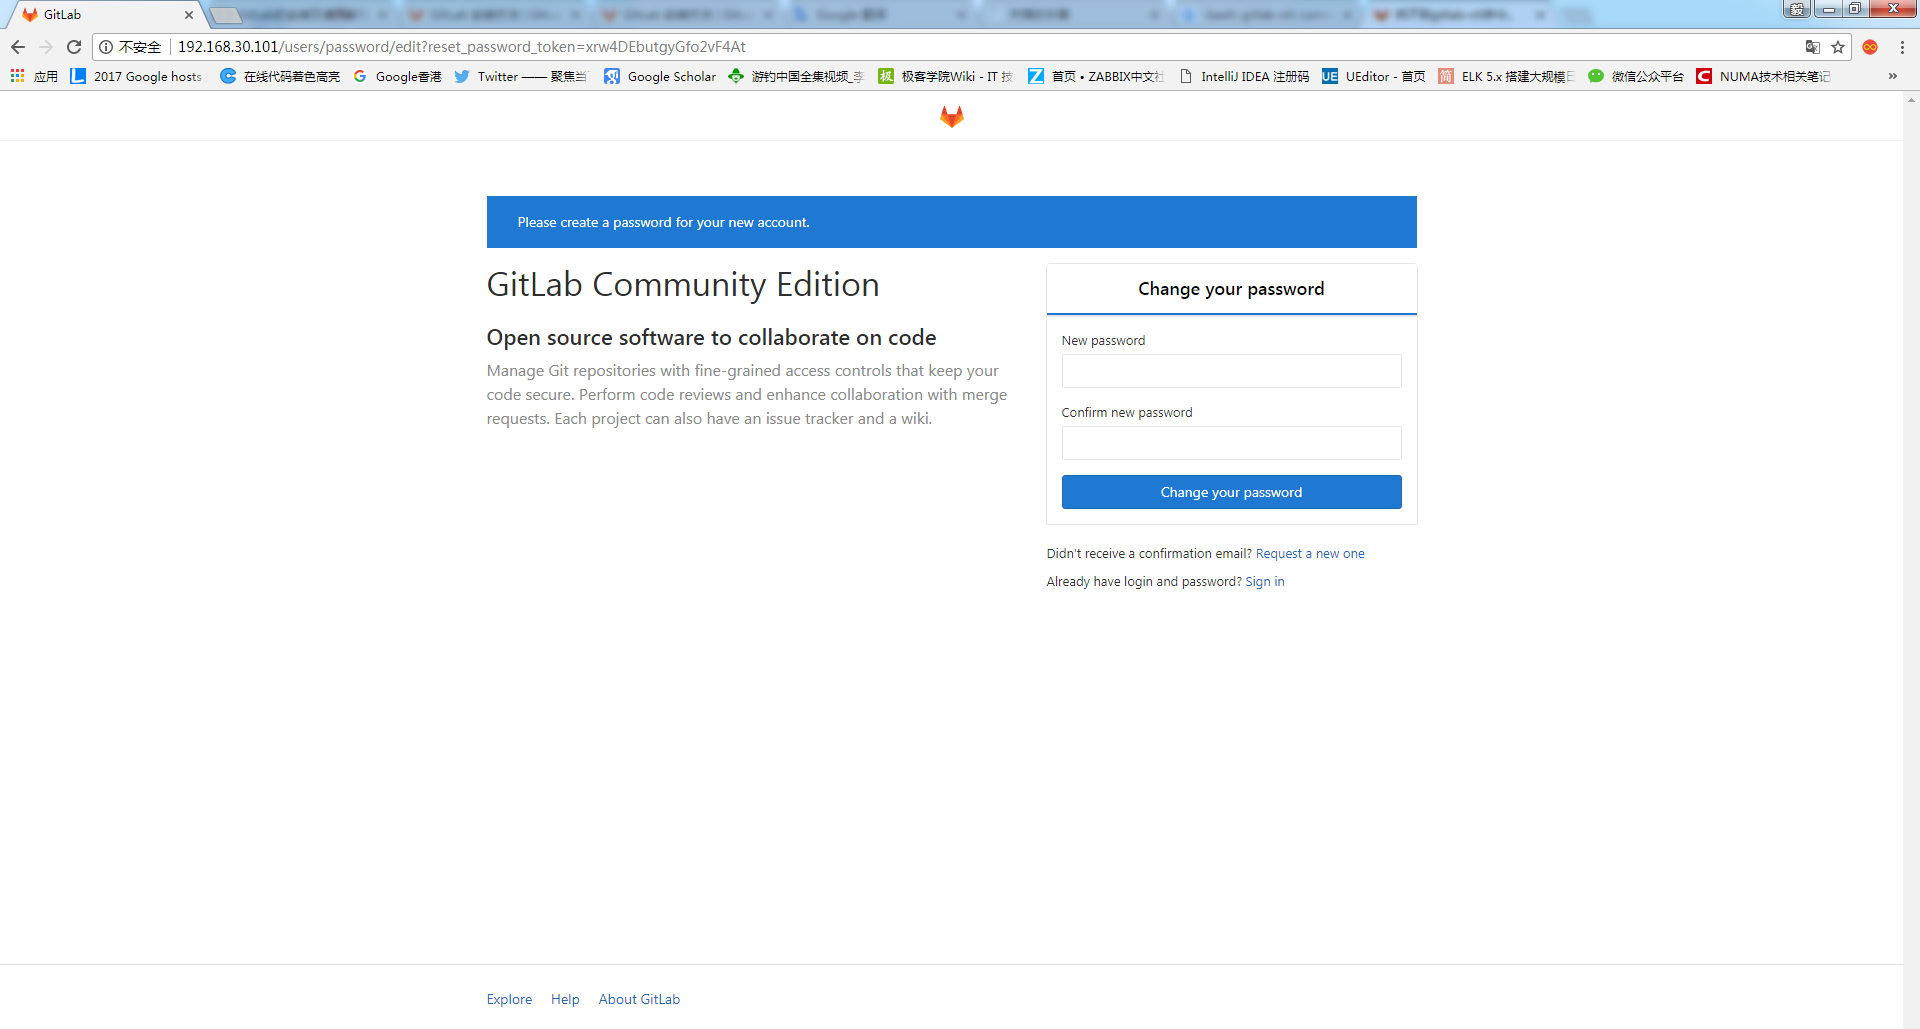
首次登录会强制修改密码。密码修改成功后,输入新密码进行登录。


注意事项以及异常故障排查
- 按照该方式,安装没问题,只不过是英文版。
- 默认安装登录需要重置root密码。可以自己单独设置一个复杂的密码后登录。
- gitlab本身采用80端口,如果安装前服务器有启用80,安装完访问会报错。需要更改gitlab的默认端口。修改
/etc/gitlab/gitlab.b
1
| external_url 'http://localhost:90'
|
如果就想用80端口,那就没问题,如果更改了端口,后边可以自行调正nginx配置文件进行nginx反向代理设置。
- 这里可以绑定自己的gitlab的域名或者公网、内网ip替换localhost进行公网访问,具体根据自己的实际情况。安全起见,一般会将gitlab部署于内网。具体部署到那里,根据自己的实际情况来定。(基于安全原因,不建议设置公网IP进行部署,可以通过nginx设置IP绑定进行return或者其他规则进行IP回避访问。)
- unicorn本身采用8080端口,如果没有8080端口使用,可以不用修改。如安装前服务器有启动8080,安装完访问会报错。需要改unicorn的默认端口。修改
/etc/gitlab/gitlab.rb
1 2
| unicorn['listen'] = '127.0.0.1' unicorn['port'] = 8080
|
每次重新部署,都需要执行gitlab-ctl reconfigure使之生效。
日志位置/var/log/gitlab可以进去查看访问日志以及报错日志,供访问查看以及异常排查。
1 2
| gitlab-ctl tail gitlab-ctl tail nginx/gitlab_access.log
|
CentOS 7
如想使用Postfix来发送邮件,在安装期间请选择'Internet Site',也可以用sendmail或者配置SMTP服务并使用SMTP发送邮件。
在centos 6系统上,将在系统防火墙里面开放HTTP和SSH端口。
1 2 3 4 5 6
| [root@localhost ~] [[root@localhost ~] [root@localhost ~] [root@localhost ~] [root@localhost ~] [root@localhost ~]
|
2.添加GitLab镜像源,并安装到服务器上
配置yum源
1 2
| [root@localhost ~] [root@localhost ~]
|
配置yum源
复制内容
1 2 3 4 5 6
| [gitlab-ce] name=gitlab-ce baseurl=http://mirrors.tuna.tsinghua.edu.cn/gitlab-ce/yum/el7 Repo_gpgcheck=0 Enabled=1 Gpgkey=https://packages.gitlab.com/gpg.key
|
更新本地yum缓存
安装GitLab社区版
也可以手动下载使用的系统相应的rpm安装包
1 2
| [root@localhost ~] [root@localhost ~]
|
3.启动GitLab
在浏览器的地址栏输入服务器的IP地址即可登录gitlab的界面,第一次登录使用的用户名和密码为root和5iveL!fe
首次登录会强制修改密码。密码修改成功后,输入新密码进行登录。
注意事项以及异常故障排查
- 按照该方式,安装没问题,只不过是英文版。
- 默认安装登录需要重置root密码。可以自己单独设置一个复杂的密码后登录。
- gitlab本身采用80端口,如果安装前服务器有启用80,安装完访问会报错。需要更改gitlab的默认端口。修改
/etc/gitlab/gitlab.b
1
| external_url 'http://localhost:90'
|
如果就想用80端口,那就没问题,如果更改了端口,后边可以自行调正nginx配置文件进行nginx反向代理设置。
- 这里可以绑定自己的gitlab的域名或者公网、内网ip替换localhost进行公网访问,具体根据自己的实际情况。安全起见,一般会将gitlab部署于内网。具体部署到那里,根据自己的实际情况来定。(基于安全原因,不建议设置公网IP进行部署,可以通过nginx设置IP绑定进行return或者其他规则进行IP回避访问。)
- unicorn本身采用8080端口,如果没有8080端口使用,可以不用修改。如安装前服务器有启动8080,安装完访问会报错。需要改unicorn的默认端口。修改
/etc/gitlab/gitlab.rb
1 2
| unicorn['listen'] = '127.0.0.1' unicorn['port'] = 8080
|
每次重新部署,都需要执行gitlab-ctl reconfigure使之生效。
日志位置/var/log/gitlab可以进去查看访问日志以及报错日志,供访问查看以及异常排查。
1 2
| gitlab-ctl tail gitlab-ctl tail nginx/gitlab_access.log
|
二、gitlab中文汉化
centos 6 汉化步骤
1.克隆gitlab汉化仓库
首先要确认下当前gitlab的版本,查看版本命令
1 2
| [root@localhost ~] 8.8.5
|
比如安装的gitlab版本是18.8.5,那么就需要下载这个版本的补丁。
克隆汉化仓库
下载完成后进入gitlab查看补丁版本
1 2
| [root@localhost src] 8.8.5
|
如安装了老版本,不同版本的可以到(https://gitlab.com/larryli/gitlab/tags)进行下载,这里的版本很全,基本可以满足下载使用。
2.汉化操作
停止当前gitlab运行
1 2 3 4 5 6 7 8
| [root@localhost src] ok: down: gitlab-workhorse: 0s, normally up ok: down: logrotate: 1s, normally up ok: down: nginx: 0s, normally up ok: down: postgresql: 1s, normally up ok: down: redis: 0s, normally up ok: down: sidekiq: 0s, normally up ok: down: unicorn: 1s, normally up
|
执行操作
1 2
| [root@localhost src] [root@localhost gitlab]
|
说明:8-8-stable是英文稳定版,8-8-zh是中文版,两个仓库git diff结果便是汉化补丁了。
3.应用汉化
1 2
| [root@localhost gitlab] [root@localhost gitlab-rails]
|
启动gitlab
1 2 3 4 5 6 7 8
| [root@localhost gitlab-rails] ok: run: gitlab-workhorse: (pid 28474) 1s ok: run: logrotate: (pid 28480) 0s ok: run: nginx: (pid 28486) 1s ok: run: postgresql: (pid 28494) 0s ok: run: redis: (pid 28502) 0s ok: run: sidekiq: (pid 28506) 1s ok: run: unicorn: (pid 28510) 0s
|
汉化效果

centos 7汉化
1.下载补丁
这里没有采用larry的。而是另一个安装包。larrili测试在centos 7有报错。
2.切换分支
这里centos 7测试的是8.5.4低版本,需要进行切换。
1 2 3 4 5
| [root@localhost src] [root@localhost gitlab-L-zh] 分支 8-5-zh 设置为跟踪来自 origin 的远程分支 8-5-zh。 切换到一个新分支 '8-5-zh' [root@localhost gitlab-L-zh]
|
3.汉化操作
首先停止gitlab
1 2 3 4 5 6 7 8
| [root@localhost gitlab-L-zh] ok: down: gitlab-workhorse: 1s, normally up ok: down: logrotate: 0s, normally up ok: down: nginx: 1s, normally up ok: down: postgresql: 0s, normally up ok: down: redis: 1s, normally up ok: down: sidekiq: 0s, normally up ok: down: unicorn: 0s, normally up
|
汉化操作
1
| [root@localhost gitlab-L-zh]
|
4.启动查看效果

日常管理
gitlab-ctl start|stop|status|restart
比如查看状态
1 2 3 4 5 6 7 8
| [root@localhost src] run: gitlab-workhorse: (pid 3857) 167s; run: log: (pid 2844) 1044s run: logrotate: (pid 3863) 167s; run: log: (pid 2865) 1040s run: nginx: (pid 3869) 166s; run: log: (pid 2851) 1042s run: postgresql: (pid 3875) 166s; run: log: (pid 2738) 1064s run: redis: (pid 3883) 165s; run: log: (pid 2655) 1070s run: sidekiq: (pid 3887) 165s; run: log: (pid 2833) 1046s run: unicorn: (pid 3919) 156s; run: log: (pid 2801) 1048s
|